
|
|
|
My name is Grace Cheetham and my story is like many others. I was diagnosed with allergies/intolerances at a young age and I’ve spent many years following allergy diets. I remember feeling utterly bewildered when I was initially diagnosed – and full of despair. At first my diet was very bland and boring, but over the years I’ve experimented with different types of ingredients and different ways of cooking them, and created recipes. I’ve also written a couple of cookbooks, called The Best Gluten-Free, Wheat-Free and Dairy-Free Recipes (A Cook’s Bible: Gluten-Free, Wheat-Free and Dairy-Free Recipes in the US) and Simply Gluten-Free & Dairy-Free. These have been published in the UK, US, Australia, New Zealand, as well as in Finland, Holland and Brazil. For Grace's blog go to www.glutendairyfree.co.uk: for her site go to www.allergyfreecook.com – and you can buy her books from both her blog site and her website.
Grace's recipes Click on the name of the recipe to go to it. Gluten-Free & Dairy-Free Rustic Italian Bread Gluten-Free & Dairy-Free Chargrilled Pepper & Tomato Pizza Gluten-Free & Dairy-Free Thai Prawn Curry Gluten-Free & Dairy-Free Chocolate & Pear Tart Gluten-Free & Dairy-Free Carrot Cake
|
Gluten-Free & Dairy-Free Berry, Acai & Chia Smoothie
Preparation time: 5 minutes Serves: 2
1. Put all the ingredients into a blender or food processor and process until smooth.
Gluten-Free & Dairy-Free Rustic Italian Bread
Making gluten-free bread is much easier than you might imagine. Generally I use a lot more liquid than in normal bread, so that the bread doesn’t burn or go too brown on top. And I find that potato flour works brilliantly. This recipe is based on a classic Italian rustic bread which is often filled with pieces of pancetta and cheese. But I’ve gone for a simpler (dairy-free) version, using just some rosemary and oil. Ingredients:
Gluten-Free & Dairy-Free Chargrilled Pepper & Tomato Pizza
Preparation time 25 minutes, plus 1 hour rising Cooking time 15 minutes Serves 2 Ingredients:
Pizza Dough:
Gluten-Free & Dairy-Free Thai Prawn Curry
This is a great dish to cook when you have friends round. You can make the curry paste the day/night before and kept it in the fridge until you use it. And you can prep the rest of the ingredients a couple of hours’ before everyone arrives, put the wine in the fridge – and then take a long soak in the bath… When they arrive, you can simply add the ingredients and then just stir (and chat) while you wait for it to cook. Perfect! Cooking time 30 minutes Preparation time 15 minutes Serves 4
Curry Paste:
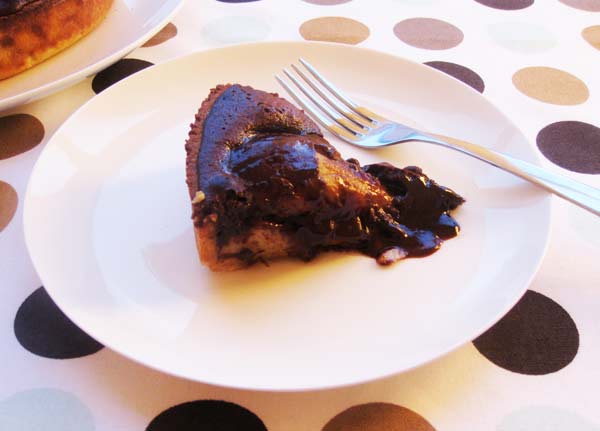
Gluten-Free & Dairy-Free Chocolate & Pear Tart
This is truly heavenly. A rich chocolate tart, with soft, sweet pears – and a very gooey middle. In theory, you should bake your tart until the filling is completely set, but the rich, oozing middle in this one defies all rules. It tastes too good to cook it any longer!
Ingredients:
Pastry:
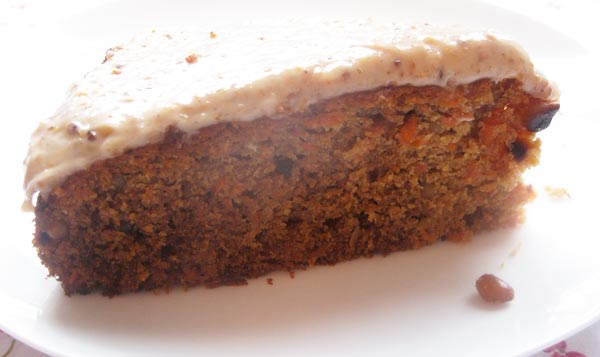
Gluten-Free & Dairy-Free Carrot Cake
Here we are in the midst of root veg season. Parsnips, swede, celeriac and, of course, the humble carrot – all impart deliciously sweet, earthy tastes to stews, casseroles, soups, gratins, and roasted veggie dishes. But you don’t have to always think of these veggies as only for savoury dishes. Forget dark winter nights in front of the fire with a roasted vegetable lasagne, and think of tea-times with crisp, clear skies and winter sunshine – perfect for pretty, colourful comfort food. Enter carrot cake… Ingredients:
Topping:
|

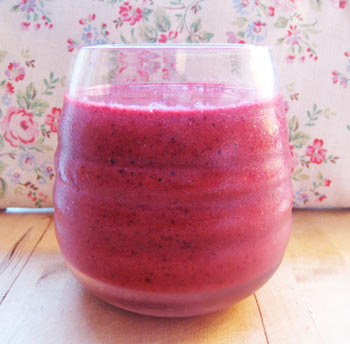 One of the easiest (and most delicious) things to do to stay healthy, is to drink regular juices and smoothies. I often have one for breakfast – and this is one of my favourite recipes, not least because it’s so quick and easy to make.
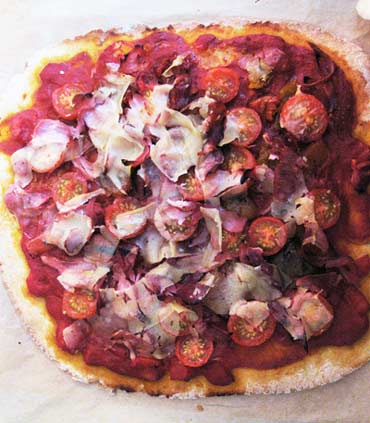 I made pizza for Zoë’s 4th birthday party this year.
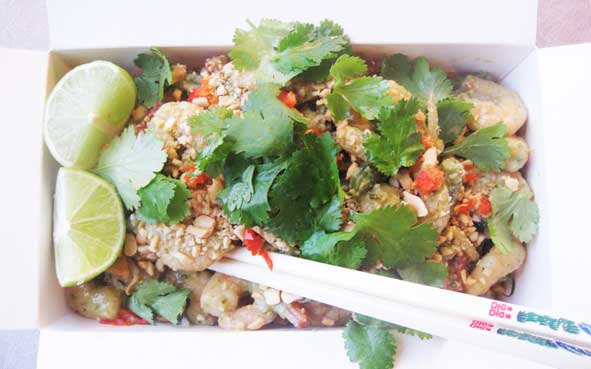


